Prepare Your Canoe for a Smooth Paddle

You’re at the canoe dock in Canoe Lake, the sun is hitting the water, and you finally lift your boat to load it into the truck—only to realize the drain plug is missing or the gunwales are fraying. A poorly prepared canoe means more than just a slow start; it means a wet tent, a sore back, and potential gear damage halfway through a portage. This guide covers the mechanical check, loading techniques, and gear organization required to ensure your vessel is water-ready for the Ontario wilderness.
How Do I Check if My Canoe is Water-Ready?
The most important step is checking the hull integrity and the drainage system before you ever touch the water. You need to inspect the exterior for any hairline cracks or deep gouges that could let water in during a bumpy ride. If you have a Kevlar or composite boat, look closely for any areas where the resin might be peeling or cracked.
Start by inspecting the drain plug. It sounds simple, but if you're using a rental or an older aluminum boat, that plug is your first line of defense. A missing plug results in a slow, steady leak that can sink a boat if you aren't paying attention. Check the seats as well—ensure the thwarts are tight and the seats aren't wobbling. A loose seat isn't just annoying; it throws off your center of gravity and can lead to a capsize in choppy water.
If you use a motor or an electric trolling motor, check the transom for any signs of stress or cracks. Most people in the Algonquin area use standard paddles, but if you're using a small outboard, that mounting point needs to be solid. Check your lines too. A frayed rope or a worn-out tie-down strap is a recipe for a lost canoe on the highway.
Take a moment to look at your paddle blades. A small crack might not seem like a big deal, but once you're five kilometers into a portage or a long paddle through a wind-whipped bay, that crack will become a full break. It's much better to find that out in your driveway than in the middle of the park.
What Gear Should I Pack for a Canoe Trip?
You should prioritize lightweight, waterproofed gear that stays low in the boat to maintain stability. The goal is to keep the center of gravity low and centered. You don't want to be fighting a top-heavy canoe when a sudden gust of wind hits the water—especially on larger lakes like Canoe Lake or Smoke Lake.
Here is a breakdown of the essential categories for a successful trip:
- Navigation: A waterproof map of the area and a compass. Don't rely solely on your phone; batteries die and signal drops in the bush.
- Safety: A PFD (Personal Flotation Device) for every passenger, a whistle, and a buoyant throw rope.
- Waterproofing: Dry bags are your best friend. Even if you have a high-end boat, a single wave can soak your sleeping bag.
- Maintenance: A small multi-tool and a spare paddle.
When it comes to dry bags, I highly recommend the Sea to Summit line. Their lightweight dry sacks are a standard for a reason. If you're on a budget, even heavy-duty trash bags inside a regular backpack will work, but a dedicated dry bag provides much better peace of mind when the weather turns.
One thing people often forget is the "wet kit." This is a dedicated bag containing a towel, a change of clothes, and extra socks. There is nothing worse than arriving at your campsite after a long day of paddling only to realize your dry clothes are soaked because a bag leaked.
It's also smart to keep a small kit of "just in case" items near your hand. A flashlight, a basic first aid kit, and some sunscreen should be easily accessible, not buried at the bottom of a heavy gear pile. If you're camping near wildlife, remember that your food storage is part of your gear. Make sure your food-safe containers are secure and ready to be hung or stored. For more on protecting your site, read my post on how to keep the bears away from your campsite.
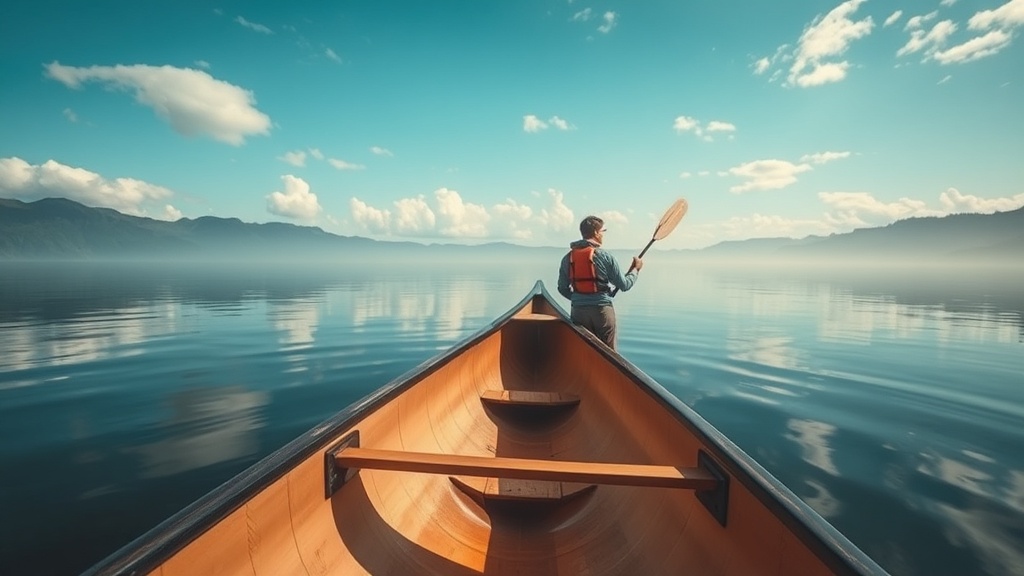
The Ideal Loading Order
Loading a canoe is an art form. If you pack it wrong, you'll be fighting the boat the entire way. Use this list to organize your gear from bottom to top:
- Heavy Items: Place your heaviest items (coolers, large water jugs, heavy gear bins) in the center of the boat, as close to the hull as possible.
- Bulk Items: Place your sleeping bags and bulky clothing in the middle sections to fill the gaps.
- Light/High-Priority Items: Place your dry bags, snacks, and electronics in the upper sections or in the bow.
- Safety Gear: Ensure your paddles and oars are secured but easily reachable.
Think of your canoe like a scale. If you put all the weight on the left side, you'll be constantly leaning to correct it, which exhausts your core muscles. A balanced boat is a fast, efficient boat.
How Much Does a Good Canoe Setup Cost?
The cost of a quality canoe setup varies wildly depending on whether you are buying new or used, and whether you want aluminum, polyethylene, or Kevlar. A basic setup for a weekend trip can range from $500 for used gear to over $3,000 for a high-end touring setup.
| Item Type | Budget Option (Used/Basic) | Premium Option (New/High-Performance) |
|---|---|---|
| Canoe | $300 - $500 (Aluminum/Poly) | $1,200 - $2,500+ (Kevlar/Carbon) |
| Paddles | $40 (Basic Plastic) | $150 - $250 (Fiberglass/Carbon) |
| Dry Bags | $15 (Generic/Trash Bags) | $40 - $80 (Brand Name) |
| PFD | $50 (Basic Life Vest) | $120 - $200 (Technical/Comfort) |
If you're just starting out, don't feel pressured to buy a $2,000 Kevlar boat immediately. A sturdy aluminum boat from a brand like Canadian Canoe or a polyethylene model will serve you perfectly well for exploring the lakes around Algonquin. The most important investment isn't the boat itself, but the quality of your safety gear. A cheap, ill-fitting PFD is useless in an emergency.
When buying used, always check the hull for "oil canning"—that's when the aluminum or plastic has been dented or deformed by impact. It might look okay on land, but once it hits the water, those dents can affect how the boat tracks. If you're buying a used Kevlar boat, check for any "soft spots" where the wood core might have absorbed water. If the hull feels spongy under your hand, walk away.
The weight of your gear also dictates your cost. If you're a long-distance paddler, you'll want to spend more on lightweight-everything. Every extra pound in the boat is a pound you'll have to carry over a portage, and that's a weight you'll feel in your shoulders and hips by the end of the day.
The weather in Ontario can change in minutes. One moment it's a clear, sunny afternoon, and the next, you're dealing with a heavy downpour and wind. This is why your gear organization matters so much. If your gear is organized and secured, a little bit of rain or a splash from a wave won't ruin your trip. If it's a mess, you'll spend your entire afternoon trying to keep your gear dry instead of enjoying the view.
Before you head out, double-check your weight distribution one last time. A heavy bow can make the boat feel sluggish, while a heavy stern can make it difficult to steer. Aim for that sweet spot in the middle. Once you've got the balance right, you're ready to push off and enjoy the water.
Steps
- 1
Place heavy items on the bottom center
- 2
Distribute weight evenly between bow and stern
- 3
Secure gear with ropes or bungee cords
- 4
Test the balance in shallow water